Microsoft started working on the latest Windows 11, 10 long back, but they had to release the software to the world due to the dissatisfaction of 8.1 Pro. The official developers added the most-demanded feature AutoComplete in the latest build version so they could provide modern functions to the users. We have to say that MS has to work on the implementation because it is not perfect as close to competitors like Google & Apple operating systems. The Redmond-based software company limited the feature within the environment like browser, file explorer, and other Microsoft products.
Contents
What is AutoComplete in Windows 11, 10 PC?
AutoComplete is a feature available in Windows 11 PC, and it works flawlessly in File Explorer. It is not available outside of the File Explorer, which is a limitation that makes the function useless. However, it is a good tool for Windows users who have lots of data in the drives, and it comes in handy when you need to reach a location. The auto-suggestion tool offers predictions based on the existing destinations and then help you finish the process faster. We have seen that AutoComplete does get annoying for professional users like programmers and coders. If you are someone who is looking to disable AutoComplete in File Explorer in the latest Windows 10 edition.
Disable AutoComplete Feature (Control Panel)
Microsoft did not remove Control Panel from the system and continued to work on the Settings to this date. Now, you can take advantage of the traditional control panel to disable AutoComplete on Windows PC.
Step 1: Open Control Panel to start the process.
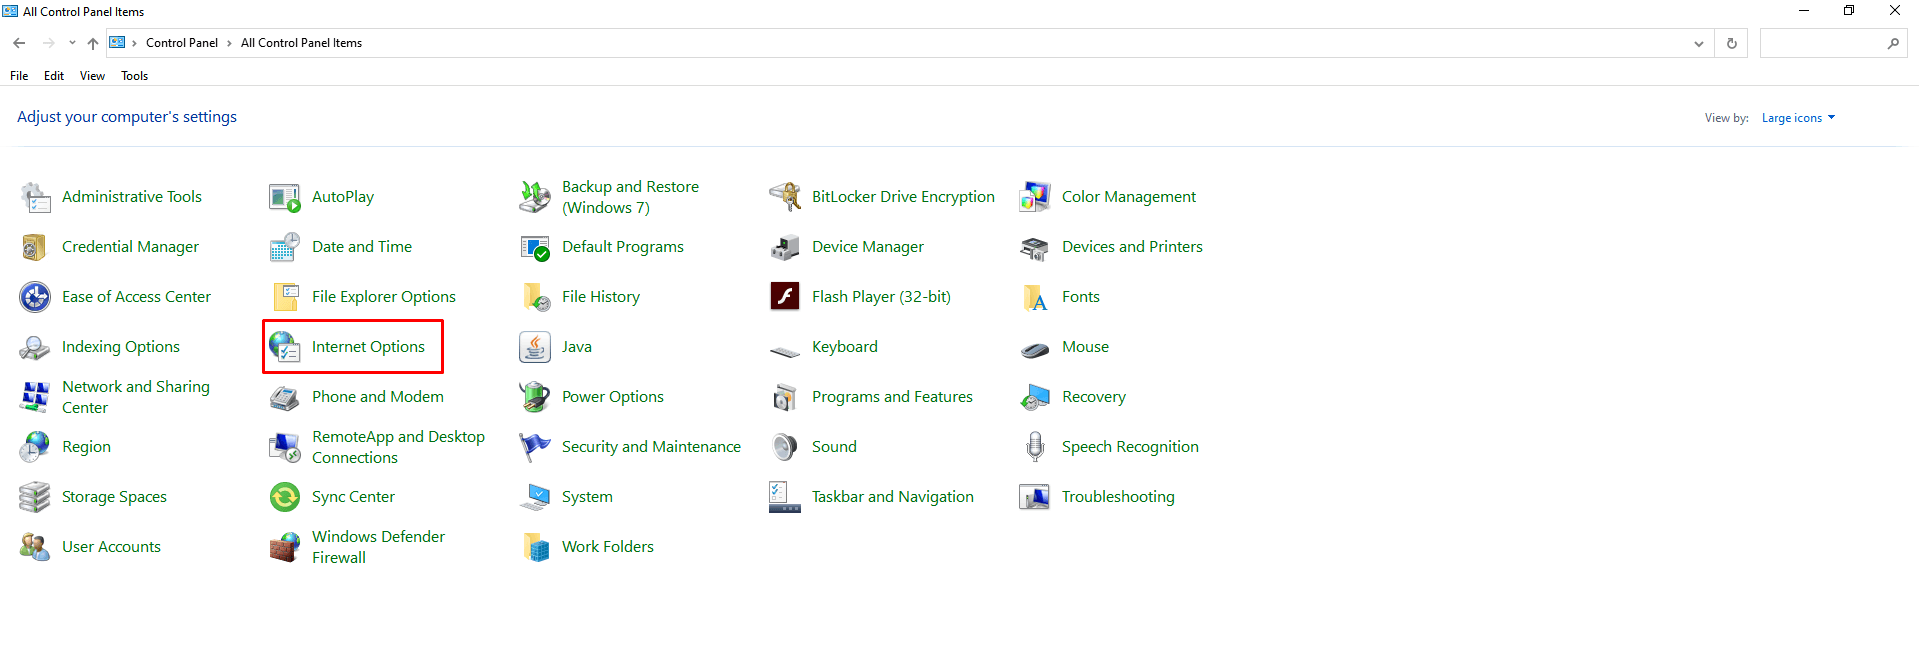
Step 2: Click on “Category” and then select “Large Icons” to view the control panel items in icons.

Step 3: Now, find and click on “Internet Options” to continue.
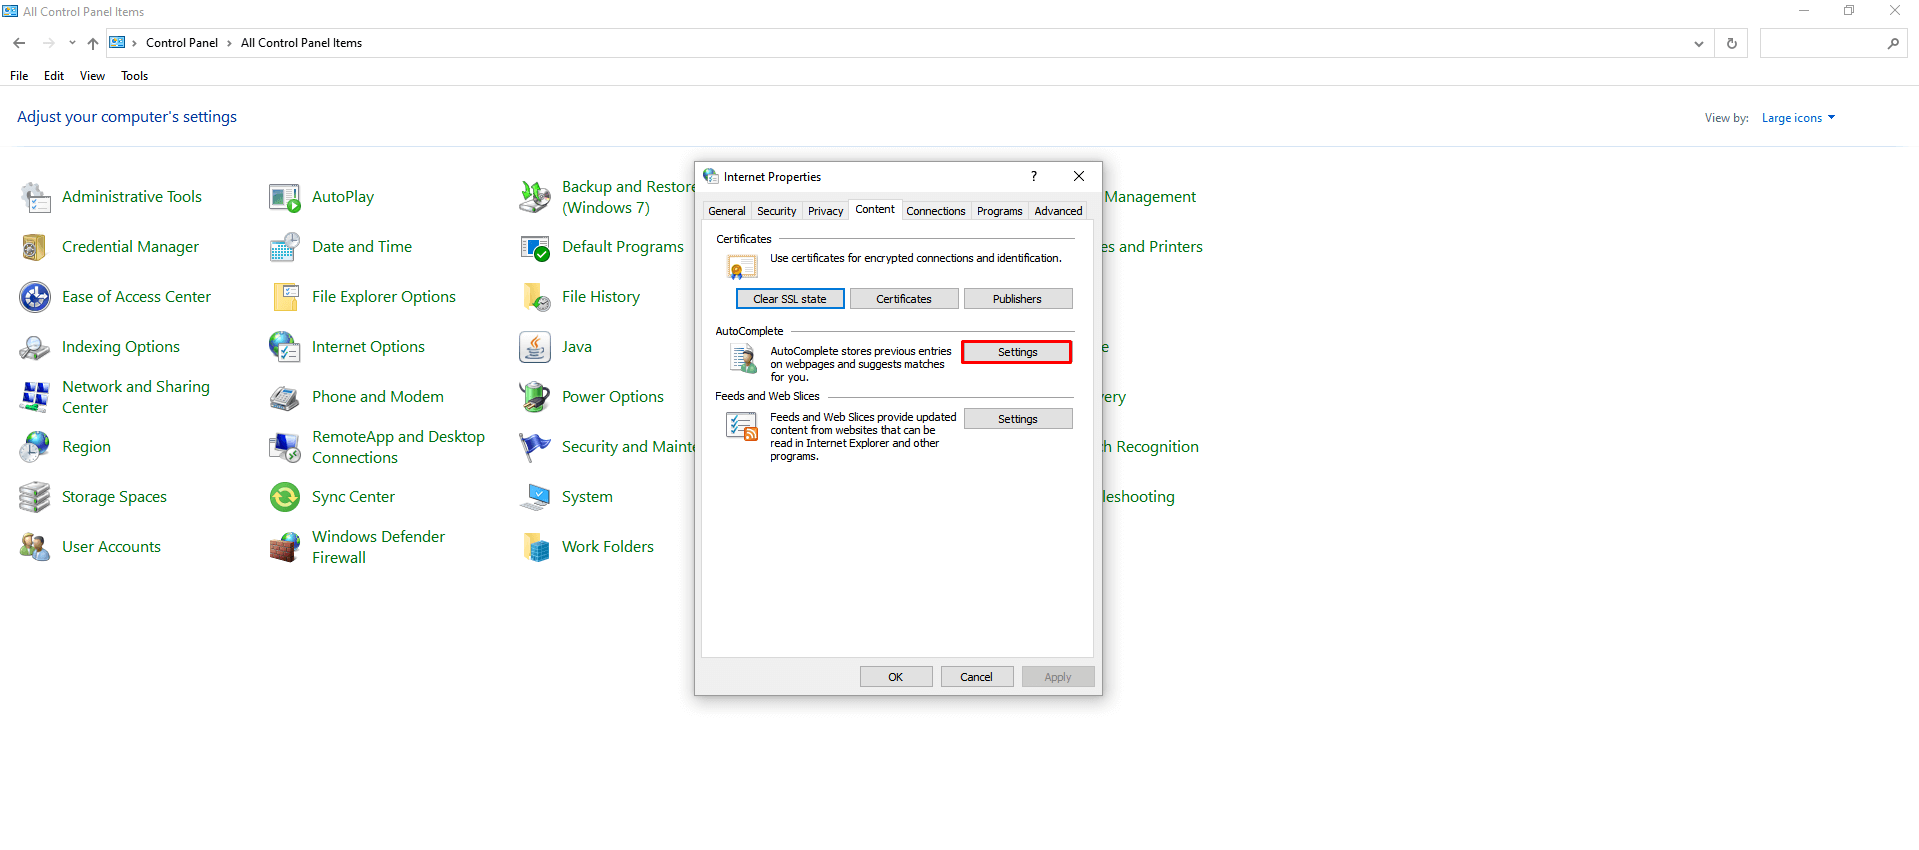
Step 4: A new pop-up shows up on the screen, and click on “Content” to continue and then click on “Settings” under AutoComplete.
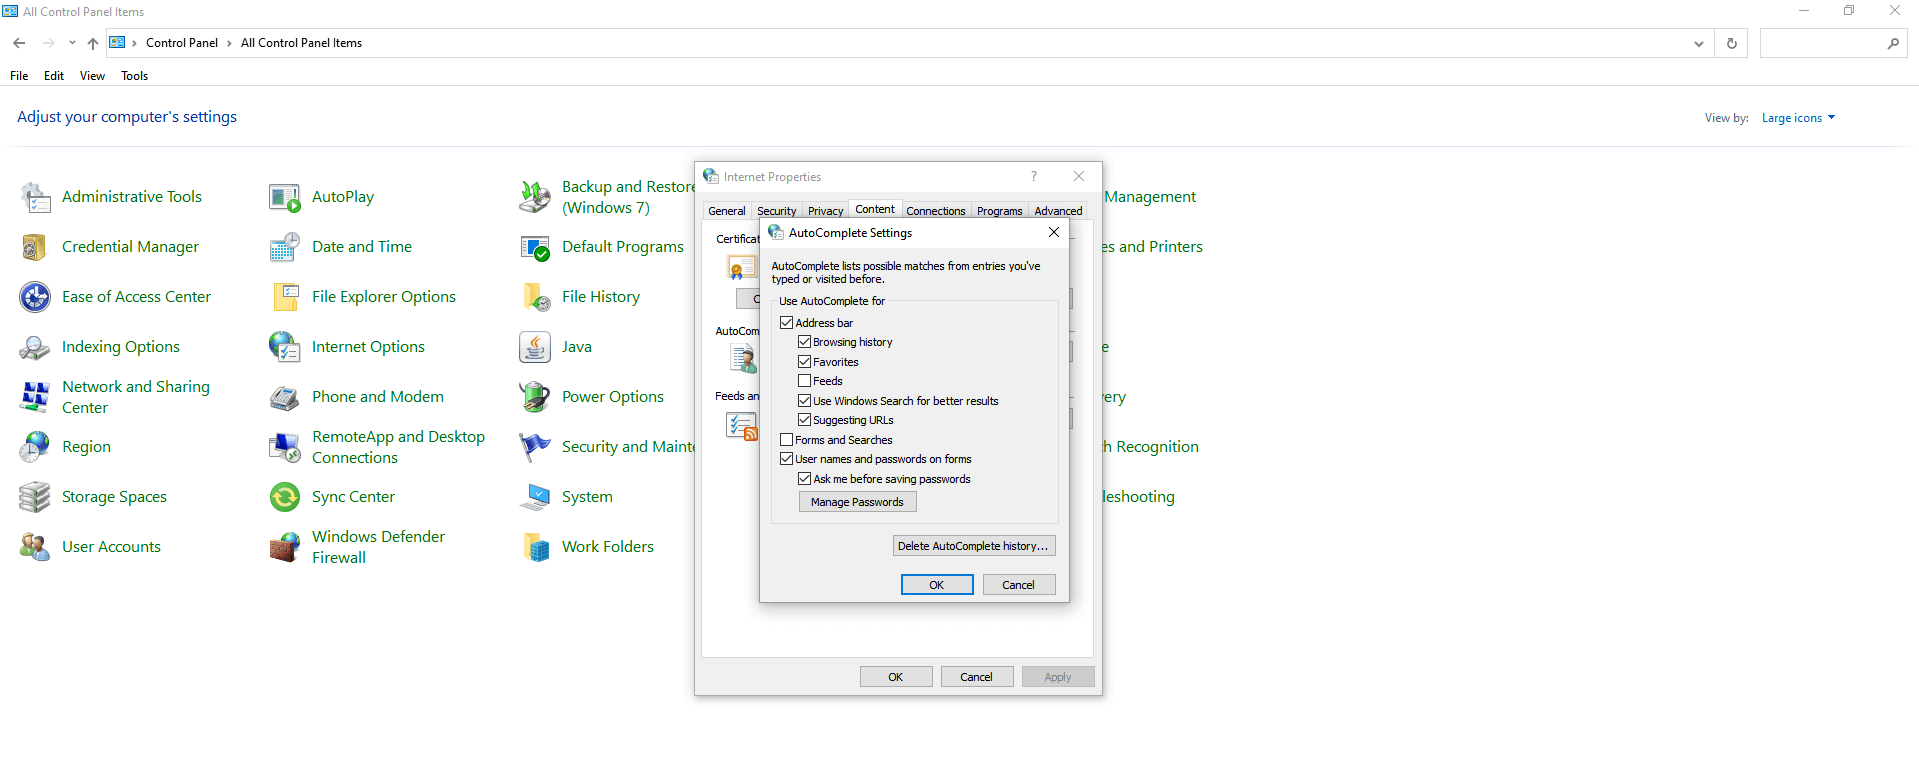
Step 5: A new pop-up window shows up on the screen, and you have to untick everything.
Step 6: Uncheck everything and then click on “OK” to finish the process.
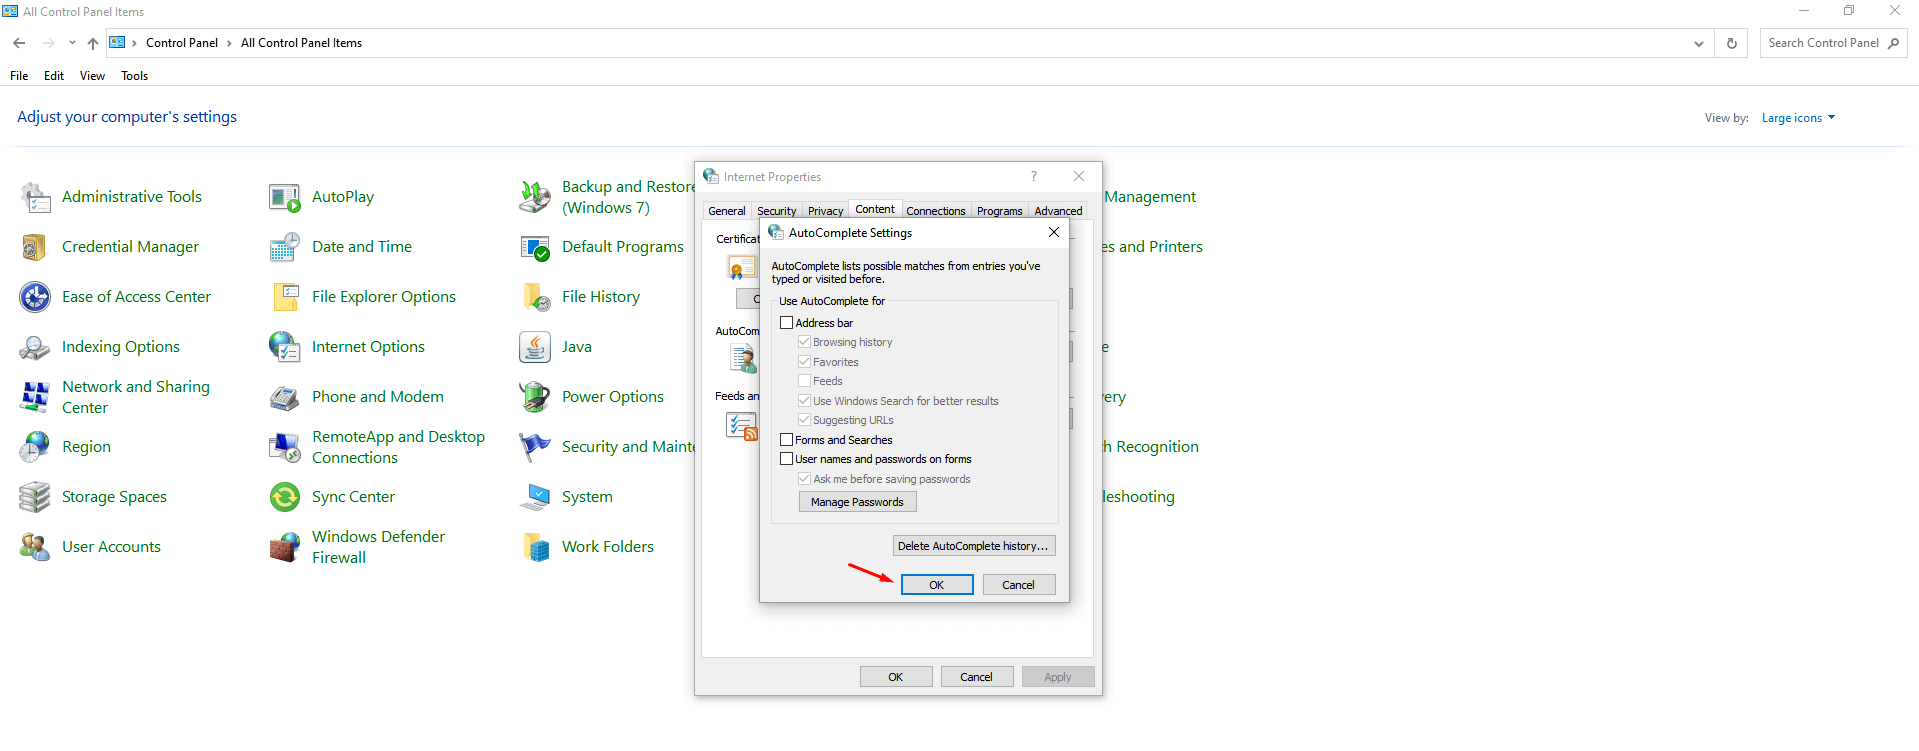
Step 7: Click on “Apply” and then click on “OK” to save changes.
You can restart the Windows OS to end the previous session and apply the changes in the Edge browser. Microsoft added the feature for the inbuilt programs as we have mentioned earlier, so Internet Explorer & Edge browser plays a crucial role in it.
Disable AutoComplete Feature (Registry Editor)
Registry plays a crucial role in Windows 11 OS, and you can make good use of it to edit the registry. We are going to show you how you can disable AutoComplete using the registry string.
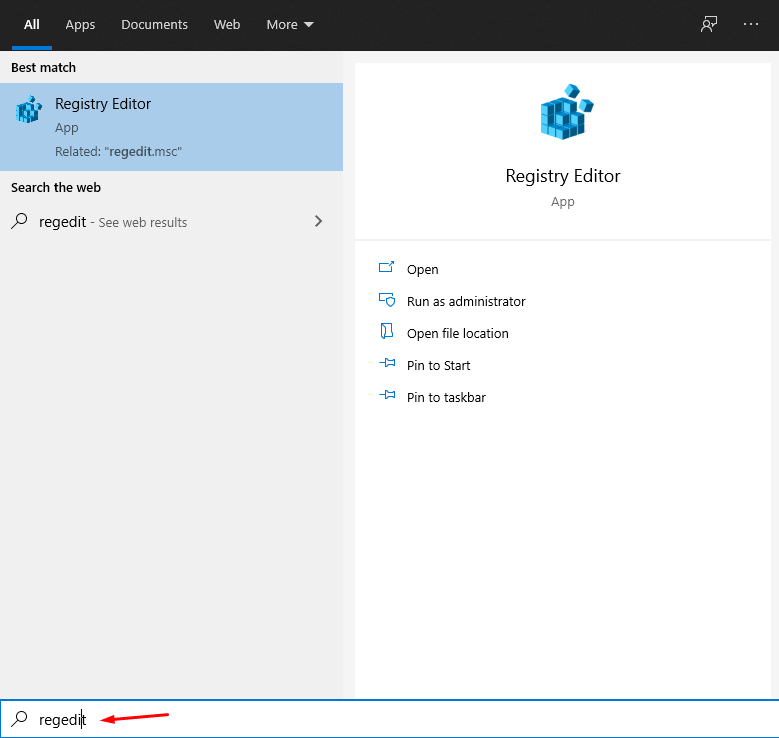
Step 1: Press Windows Key and then look for “Registry Editor” and then run as administrator.
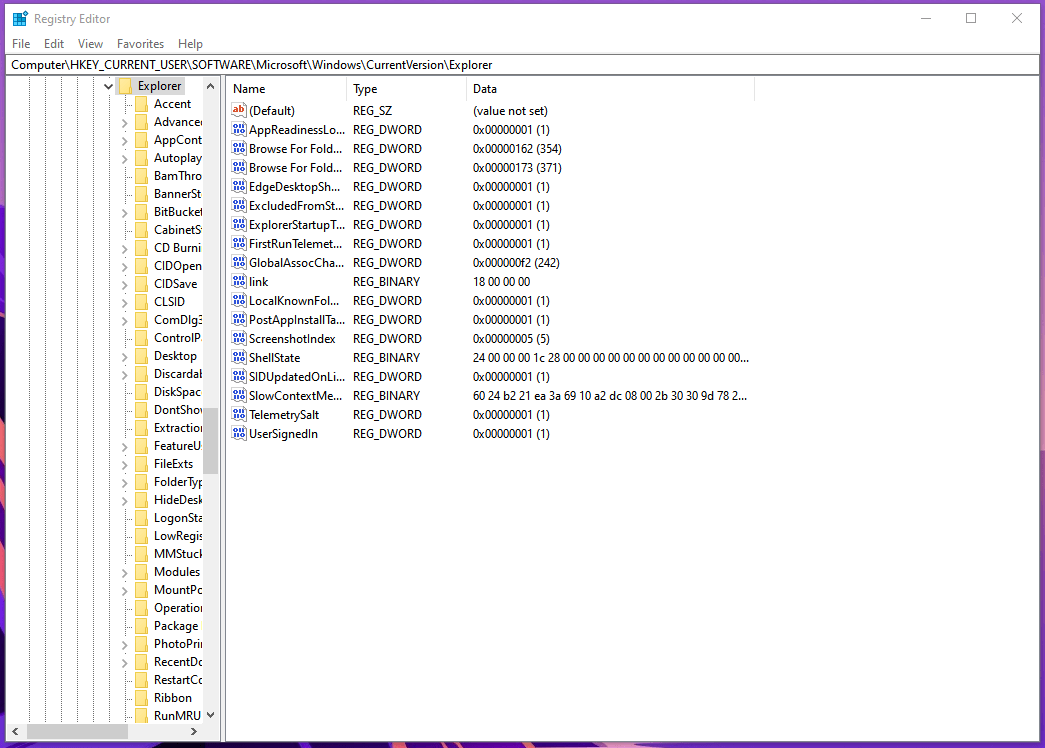
Step 2: Now, go to the given (HKEY_CURRENT_USER\Software\Microsoft\Windows\CurrentVersion\Explorer) location.

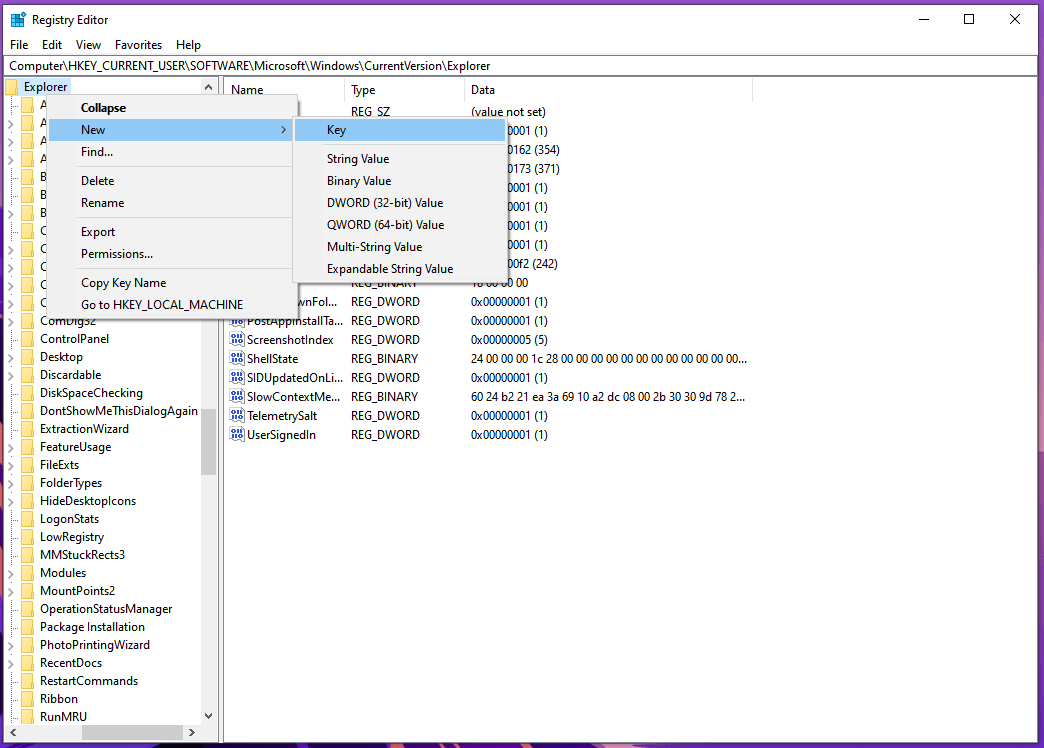
Step 3: Look for the AutoComplete folder in the location, but we could not find it in our system. In such cases, you can create a new folder in Registry Editor, and that’s what we did.
Step 4: Hover the mouse on the explorer folder and then right-mouse to view more options. Choose “New” and then select “Key” to continue.
Step 5: Name the newly created folder “AutoComplete” and then right-mouse click in the new folder and then select “New” > “String Value”.
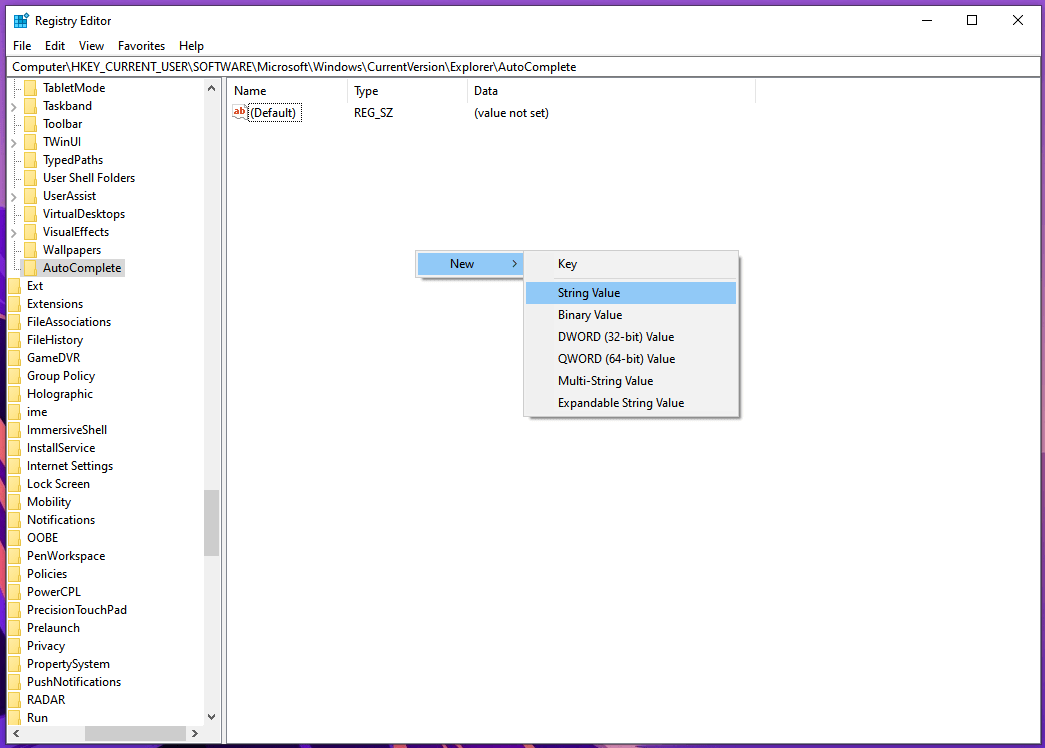
Step 6: Name the new string “AutoSuggest” and then type “NO” in the Value Data.
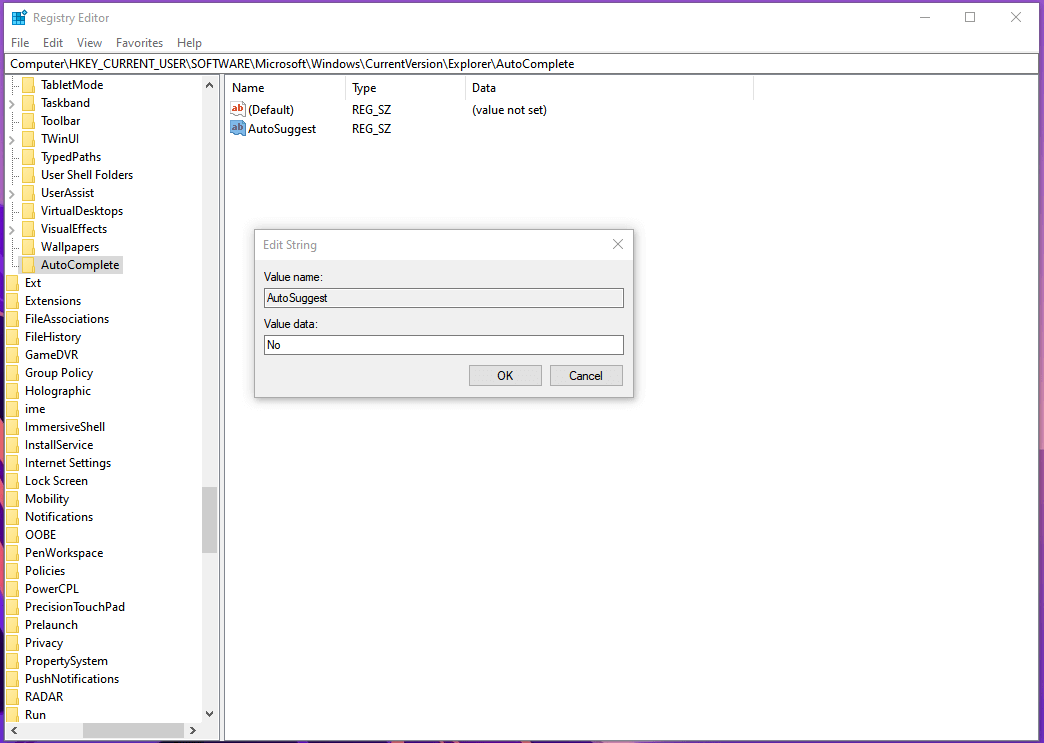
Click on “OK” and close the window, and then restart the PC to end the session. The new registry will be detected in the next boot, and AutoComplete will be disabled. We have tested the methods in the 20H2 build version and you can find all options in the mentioned version.
Bottom Line
Users can disable or enable AutoComplete in Windows 11/Windows 10, and you have to keep the build version in mind because the Microsoft developers team is making drastic changes to it. You can seek additional assistance from the Microsoft forums if none of the solutions are working in the upcoming build versions.