The number one choice of a web browser for Windows users is definitely Google Chrome. Reasons for its popularity are many, including but not limited to its simplicity and the speed and security it offers. In fact, since its release in 2008, it has left the once powerful Mozilla Firefox and Microsoft’s Internet Explorer far behind in terms of market shares. Chrome is also constantly updated to add new features and fix issues so at the end of the day nobody has any complaints.
One very useful feature that Google introduced with Chrome’s version 4.0 is the Bookmarks Sync feature. Suppose you have a personal computer that you work from at home and another PC at your office. Or you have been looking up something on your mobile phone. When you switch devices like this, it would be ideal if the bookmarks you made on one also showed up on the other two, right? And this is exactly what Bookmarks Sync does. It is a few small, easy steps to set it up and you just have to do them once. After that point, all bookmarks you add or delete on Chrome are updated across all devices automatically.
The only requirement is you have a Gmail account which you almost definitely will, especially if you have an Android phone. In the crazy off-chance that you don’t, go sign up right away! It is really simple and hassle-free to make a new Gmail ID. You need a Gmail because all the bookmarks you make get saved online in your account, and once you log in to your account on Chrome and enable sync they will all show up on all the computers, laptops, tablets or mobile phones that you use.
Contents
Once you’ve checked that box, here are the simple steps that you need to follow to sync your bookmarks across multiple devices:
Step one: Open up your Google Chrome browser.
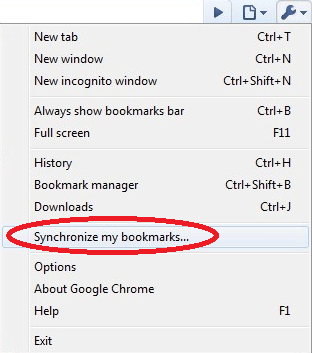
Step two: If you are on one of Chrome’s older versions (older than v23.0) click on the wrench icon on your upper right hand corner. This should open a drop down menu. Find ‘Synchronize my bookmarks’ from this and click on it.
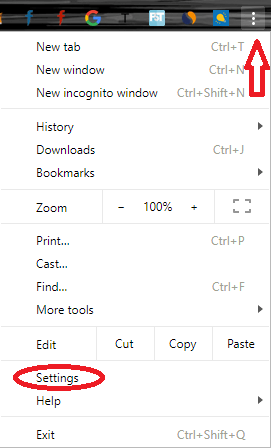
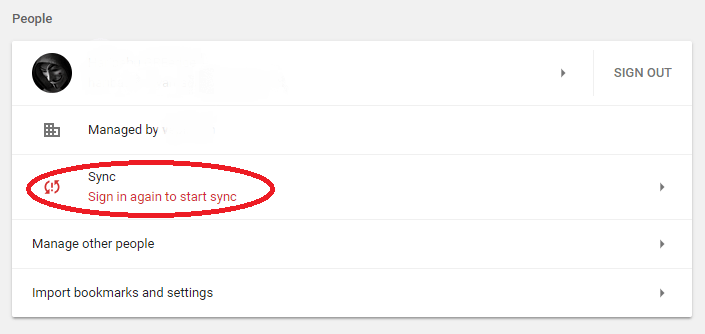
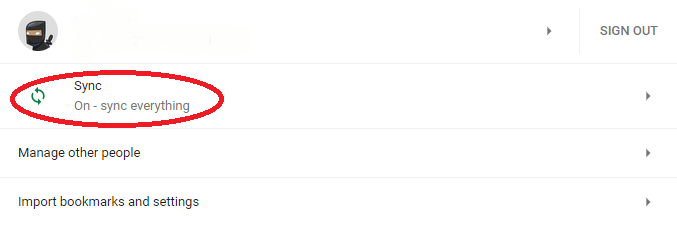
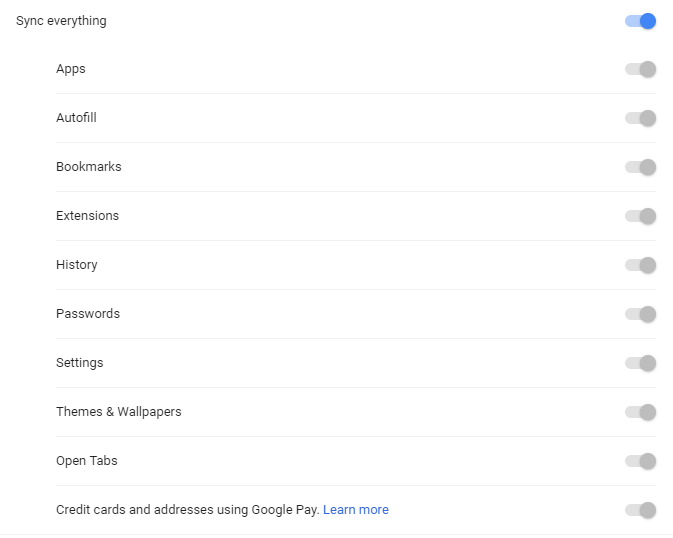
If you are on a newer version or on your android powered phone or tablet, on your upper right hand corner you will see a stack of three dots (called the ‘hotdog’). Click on this. This will give you a drop down menu. Choose ‘settings’ from it and a new tab will open up. At the top, under ‘People’ select Sync to turn it on. Here you can select what you info you would like to Sync. Turn Bookmarks on (you can also select ‘sync everything’ if you would like all your info to be available across all your devices).
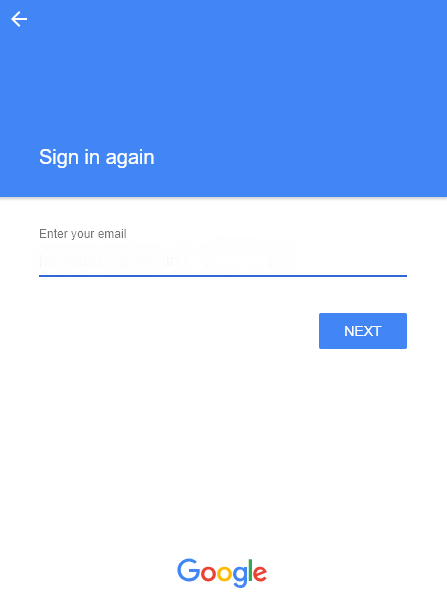
Step three: If you hadn’t already logged in to your Gmail account, you will be prompted for it at this stage. Type in your user ID and password and submit.
Step four: The sync process has started once you see the success message. Wait a while for it to finish.
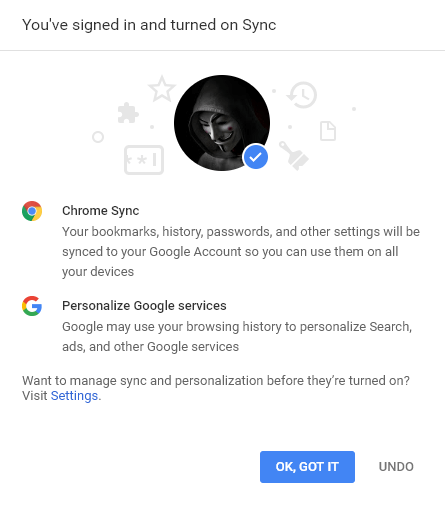
Step five: That is all! You are done. All your bookmarks have been saved to the Gmail account you just gave.
Now to access these bookmarks from another device, the method is almost the same. Repeat these same steps on all devices that you use:
Step one: Open up your Google Chrome browser.
Step two: Depending on your version, choose either the wrench icon or the hotdog (three stacked dots) to open the drop down menu. Click on ‘Synchronize my bookmarks’ or go to Settings > Turn on Sync.
Step three: You will be prompted for your Gmail account details at this stage. Type in the same email ID and password and submit.
Step four: A prompt will show up asking you to confirm if you would like all your bookmarks to merge together. This way, the bookmarks you already had (if any) on your current device will also be stored to your account along with the bookmarks from your earlier device. Select ‘Merge and sync’ to confirm. Moreover, you can even Sync particular things as per your needs. You can see the below image with various options to sync what you need.
Step five: That is all! You will see now that the same set of bookmarks will show up on all your devices.